Cleaning tiles
Tiles are one of the most popular floor coverings and for good reason: They are hard-wearing and, in most cases, easy to take care of. However, there are a few points to consider when cleaning them.
Cleaning different types of tiles correctly
There are countless types of tiles. To clean them in the most effective way, it is therefore important to first correctly identify the material of the tile. The most common types are ceramic tiles, such as fine stoneware tiles, glazed tiles, stoneware tiles, terracotta tiles and clinker tiles. The basic component of all commercially available tiles is clay which, depending on the type, is made up of different aggregates and burns at different temperatures. However, you occasionally also find natural and artificial stone tiles in private households, and this is where you have to take particular care with the cleaning process.
Glazed tiles
Glazed tiles are generally understood to mean a stoneware tile on which a glass-like coating has been applied to the top layer. This allows for a smooth, closed surface and an almost infinite range of structures and colours. A glazed tile is characterised by the edge and the top layer having a different colour. Thanks to their smooth surface, glazed tiles are usually easy to clean and do not require any special care.
Fine stoneware tiles
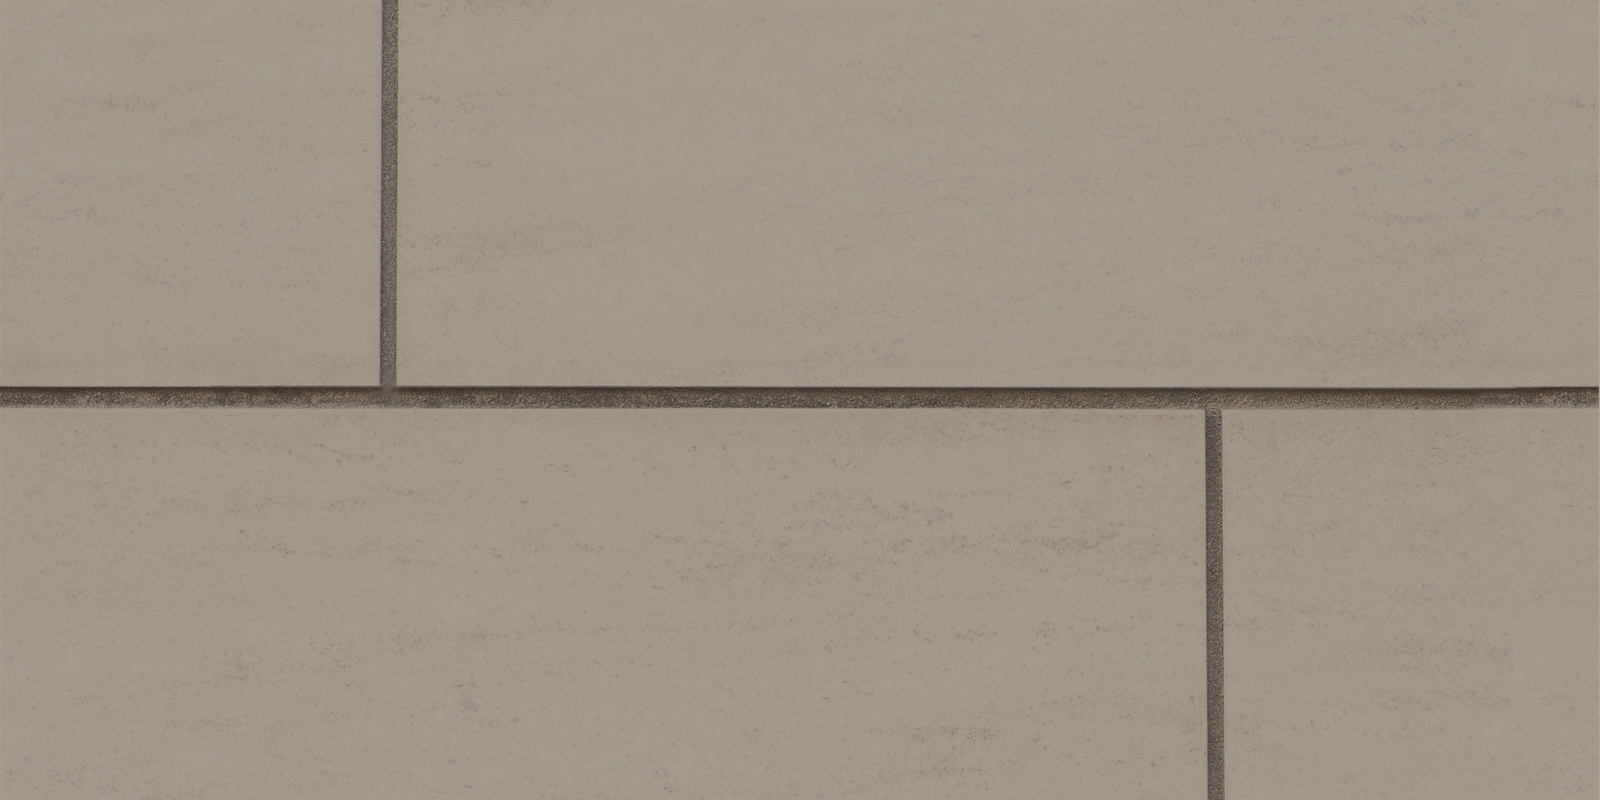
Thanks to their robustness and visual appearance, more and more frequently, fine stoneware tiles are being laid throughout the entire living space. Fine stoneware is available as silk-matt, high-gloss polished, with a structure (e.g. slate-look) or printed (e.g. wood-look). Fine stoneware is usually solid-coloured and is characterised by the fact that it looks the same from all sides. The only exception here is printed fine stoneware.
Fine stoneware has a microporous surface and is therefore best cleaned using microfibre cloths, whose fine fibres can get into the tiny uneven areas of the surface. Otherwise, the same procedure as for glazed tiles applies.
For structured fine stoneware, we recommend wiping lengthwise and crossways across the surface once – you therefore achieve great cleaning results right into the depth of the structure. The floor covering is resistant to most alkalis and acids and is resistant to organic solvents. Fine stoneware does not require any additional care beyond the correct cleaning.
Natural and artificial stone tiles
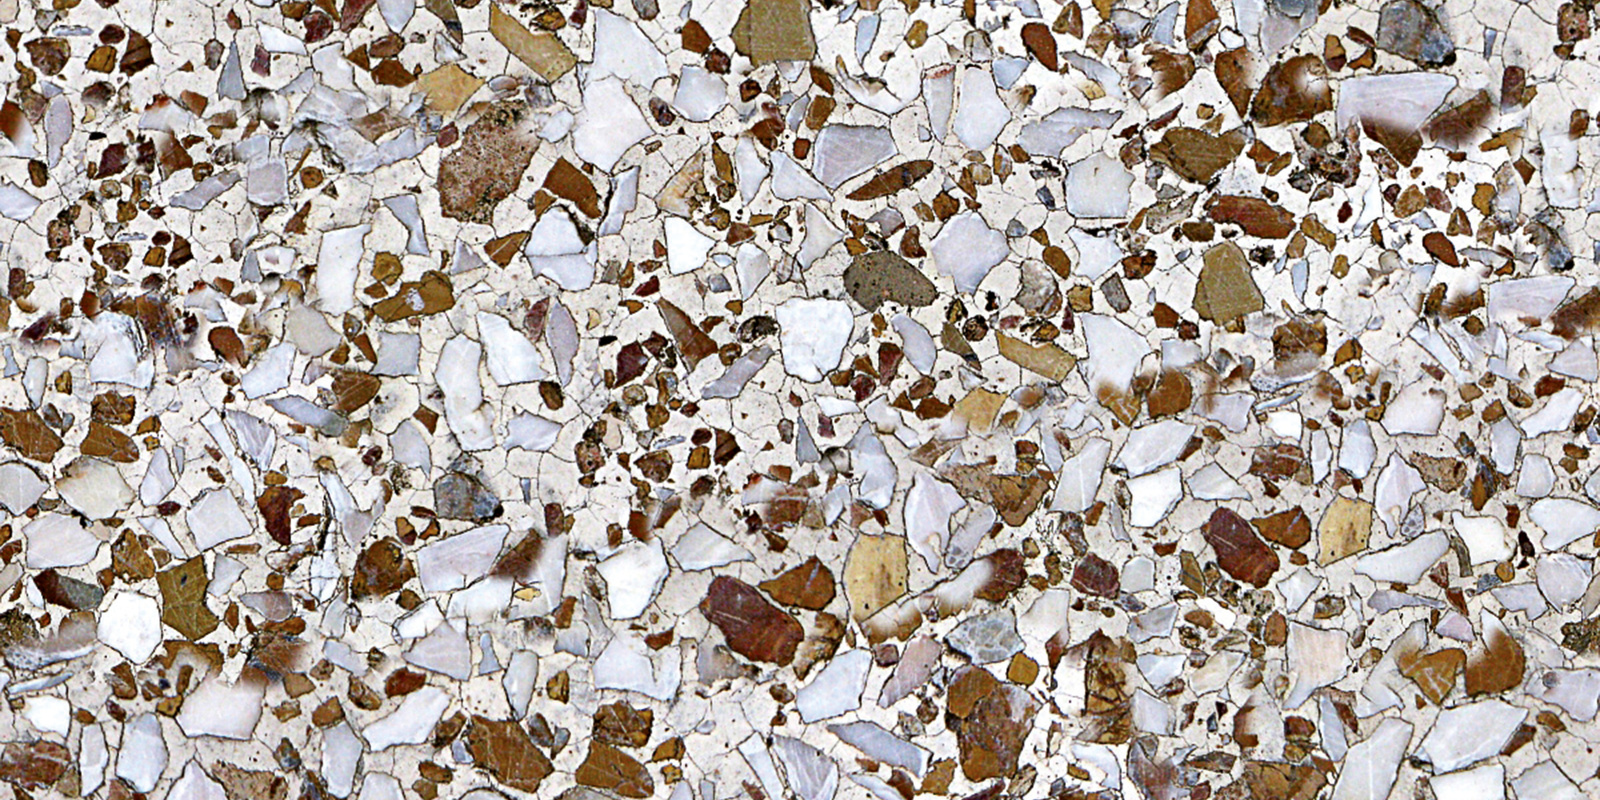
Natural stone includes, for example, granite, marble, Jurassic stone and slate. Plastic stone includes mineral (usually cement) or resin-bonded materials that are manufactured using aggregates, such as sand, pebble stones, marble or other materials. The most commonly used types of plastic stone include, for example, artificial stone, exposed aggregate concrete or Agglo marble.
Acidic detergents (pH value of < 7) or household remedies such as vinegar or citric acid are used for mineral dirt, such as rust, limescale or cement residue. Since many natural and plastic stone types are sensitive to acids, we recommend carrying out a test in an inconspicuous area beforehand. To do this, take an acidic cleaner and apply a few drops of the acid on the surface in an inconspicuous area. If the acid begins to foam, the stone is sensitive to acids and must not be treated with acidic detergents.
Cleaner tiles in just two steps
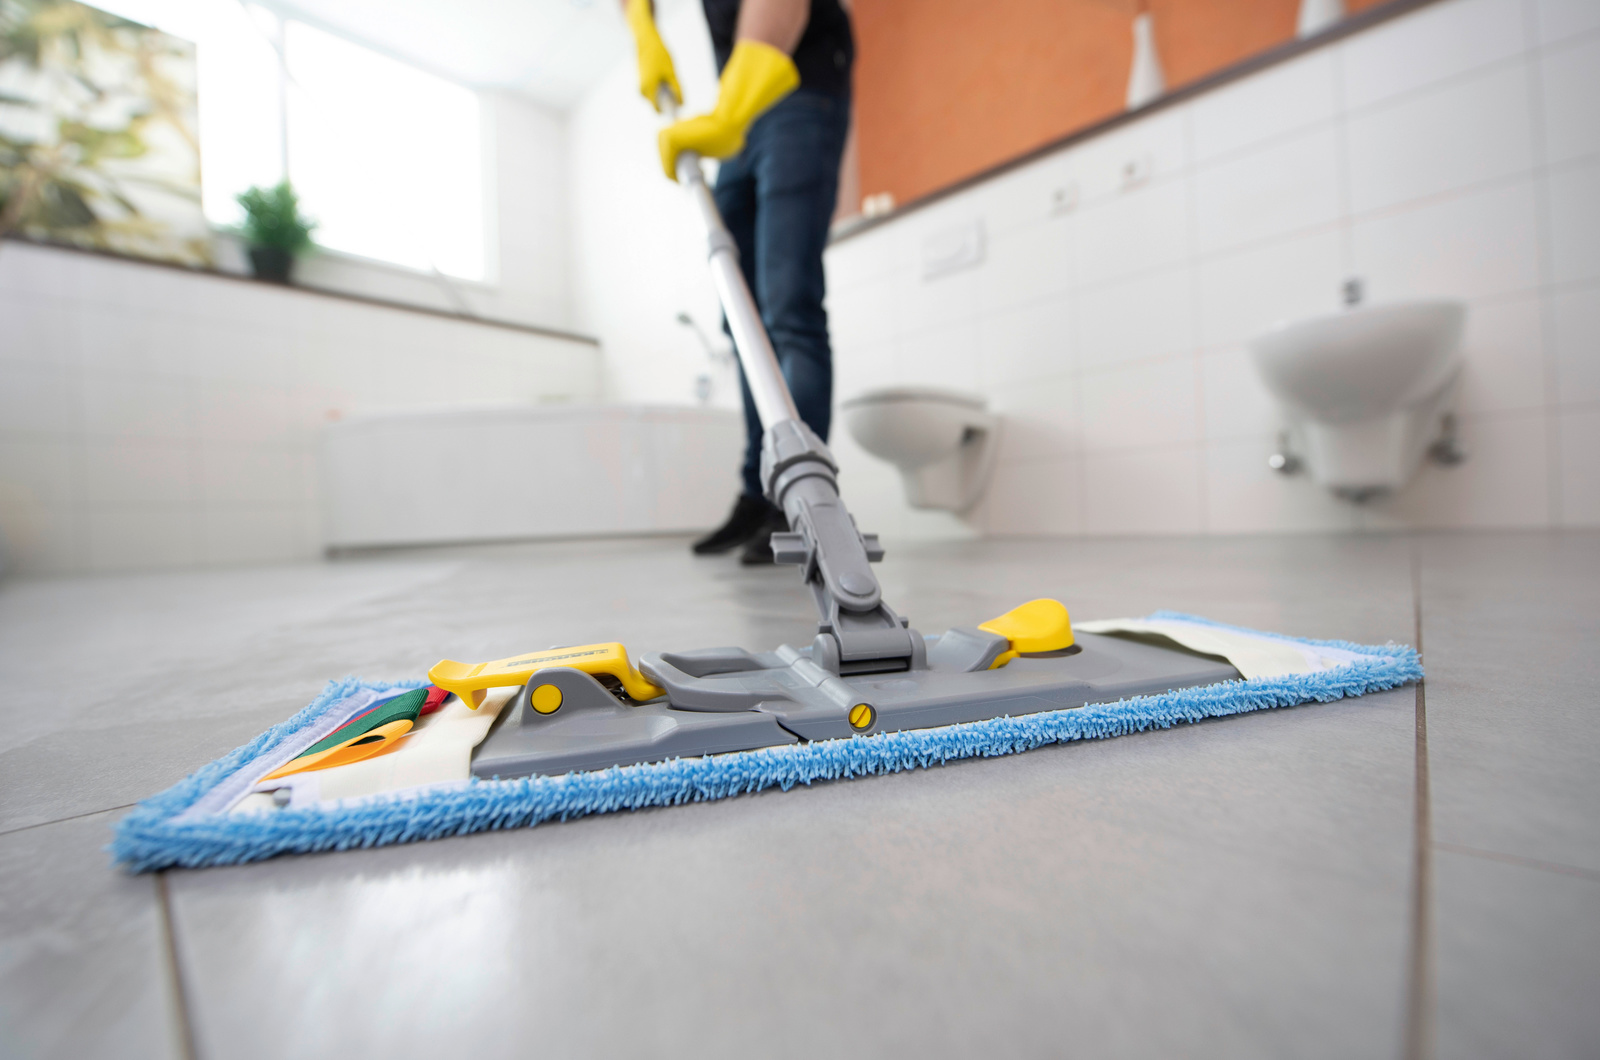
The most popular cleaning method involves using a combination of vacuum cleaning and wet-wiping. In the first work step, loose dirt, such as dust and hairs, is picked up with a standard vacuum cleaner. If the floor tiles are located outside or in extremely dirty spaces, such as garages, a multi-purpose vacuum cleaner is ideal.
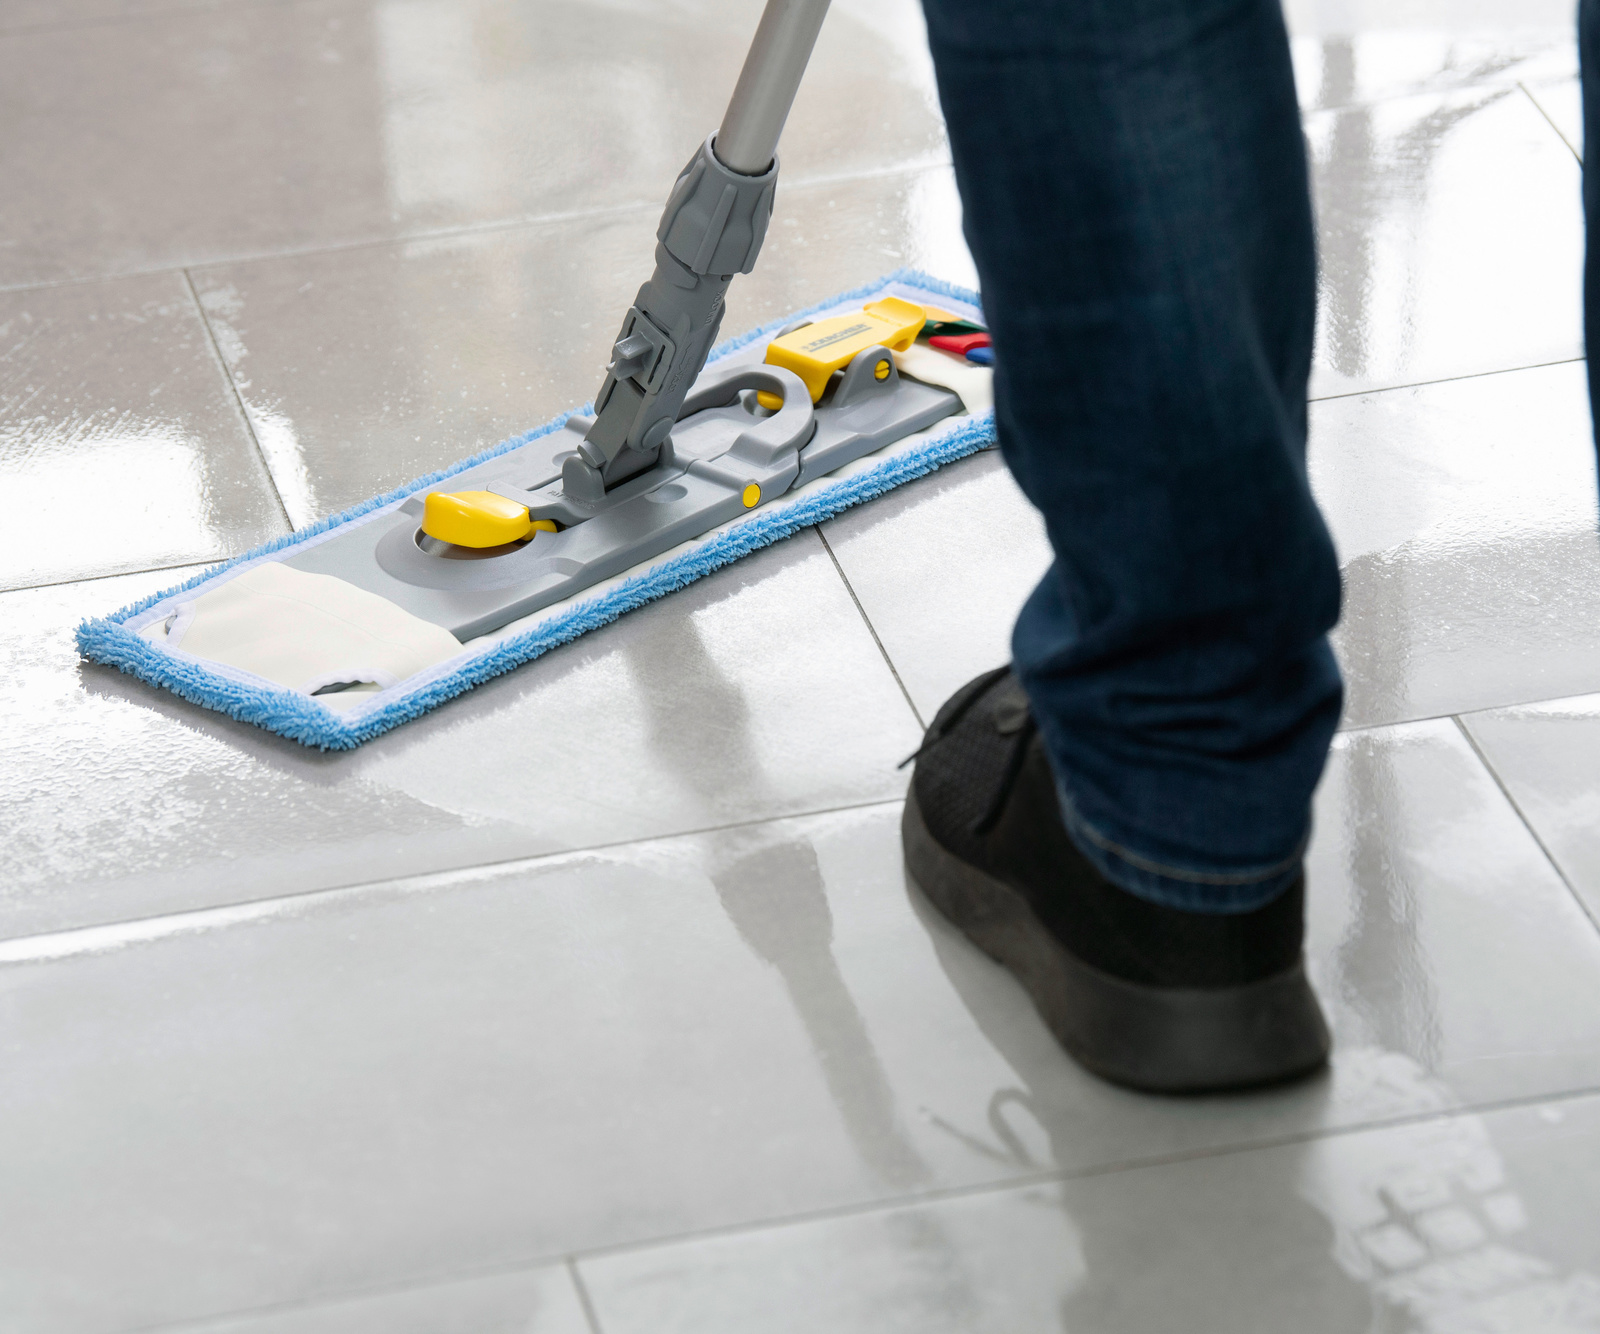
Then wet-wipe the surface with a floor wiper or mop. Ideally, you should regularly squeeze out the wiping cloth using a wiping cloth press, as this prevents direct contact with the dirt as far as possible. Firstly, you should work the edge of the entire room and then carry out preparatory work from the rear-most corner to the door, in even strokes.
With a little practice, this mechanical method can be used to clean very quickly, however the process also has a few disadvantages: Stubborn dirt must be processed with additional actions in order to loosen it. Particularly dried stains in the kitchen are usually not loosened during the first go. Most floor wipers apply relatively large volumes of water, meaning that the surface requires relatively longer to dry.
Removing greying on tiles
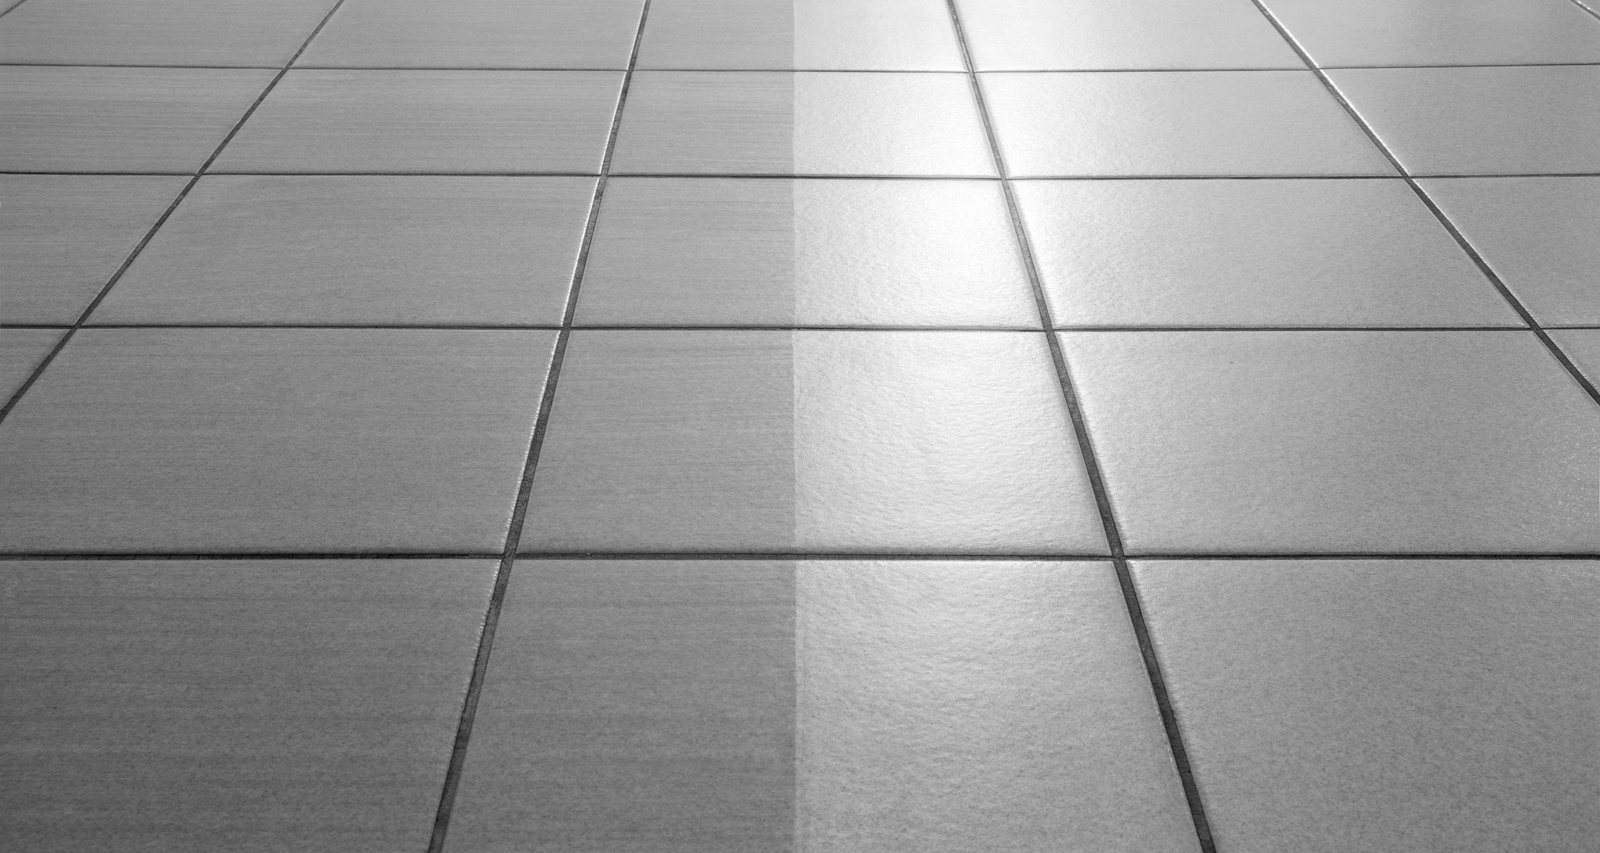
If a tiled floor has been handled incorrectly for an extended period, for example, too much detergent or wipe care is used, this may lead to greying. This causes layers of dirt and detergent to form which, over time, lead to an unpleasant appearance. To remove this greying, the first cleaning cycles should only be carried out using warm water. If a foam head occurs on the dirty water during the cleaning process, this is a good sign that the old detergent residue has been removed. In this case, repeat the process until foam no longer forms. Alternatively, melamine sponges, also known as magic sponges, are a good option for removing greying.
Expert tips
Regardless of whether or not there is greying, we recommend first processing a small area of the surface in an inconspicuous area and, after it dries, note the difference to the surface that has not been cleaned. If the brand of the floor covering is known, it is also worthwhile to take a look at the cleaning and care instructions from the manufacturer of the floor covering.
Removing lime film from tiles
It's not only in the bathroom where limescale can become a problem: A white lime film may arise over time when cleaning too if the water is very calciferous. The lime film occurs in particular on dark tiles and you often only notice it when areas that are frequently walked on are polished by footwear and start to have a greasy look.
To remove the lime film, use an acidic sanitary cleaner. Alternatively, you can use household remedies, such as vinegar or citric acid. When using acidic cleaners, the tile joints should always be pre-watered so that they are not attacked by the detergent. To do this, it is sufficient to wet-wipe the surface with clean water. The cleaner is diluted with water in accordance with the instructions and is applied using a scrubber. During the contact time of approx. five minutes, the surface can be further processed with the scrubber, but the cleaning solution should not be allowed to dry. Then use a floor wiper or mop and clean water to wipe the surface again until all of the detergent residue is removed. When doing this, change the water several times. For extremely thin lime films, under certain circumstances, it is sufficient to wipe the floor once or twice with an acidic sanitary cleaner and then rinse with clean water.
Hygienically cleaning with the steam cleaner
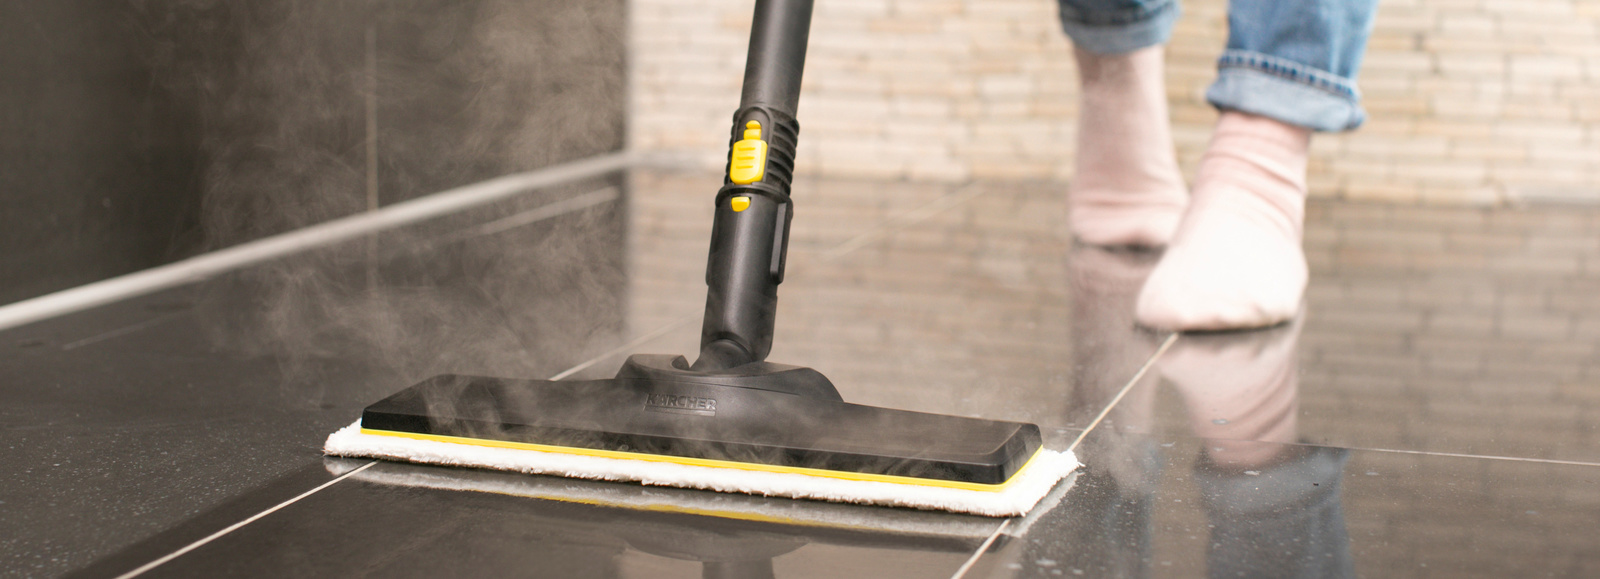
A real alternative to mechanical floor wipers are steam cleaners. They produce hot steam and therefore work particularly hygienically. Thanks to the high temperatures, up to 99.99% of bacteria and viruses are removed, without any chemical detergents being used. The hot steam also loosens stubborn dirt and removes grease, meaning that the strengths of the steam cleaner become particularly clear in the kitchen. Steam cleaners are suitable for allergy-sufferers and families with small children who should not come into contact with aggressive cleaning agents on the floor. Since the production of steam demineralises the water, the steam does not leave behind any lime residue or cleaning streaks. Thanks to the heat, the floor dries quickly and can be walked on again sooner.
Suitable wiping cloth covers for the floor or hand nozzle are used to clean the tiles. As with the post-wiping, microfibre covers should be used on fine stoneware tiles. Move the floor or hand nozzle from side to side quickly in overlapping strokes when steam is released. In doing so, only the amount of steam that is required for loosening the dirt is released. The loosened dirt is absorbed by the cloth; the dirty covers should therefore be regularly replaced. To clean the joints, move the floor nozzle up and down and from side to side (in the shape of a cross) over the area to be cleaned. For deep cleaning, the joints can also be cleaned separately.
During the first cleaning cycle with the steam cleaner, streaks may form. These are formed by detergent residues and are removed by wiping several times with the steam cleaner.
