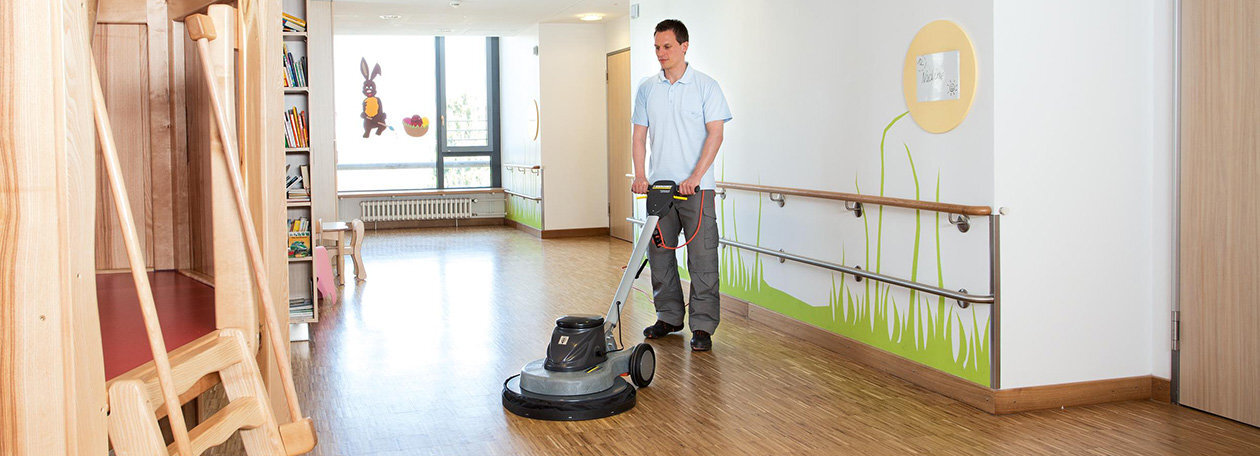
Polishing machines
When shoes leave marks: Kärcher polishing machines make floors shine again. Being battery powered, they can also be used during normal business hours.

Pofessional floor polishing machine
Maintaining clean and polished floors is essential in both commercial and industrial environments, where heavy foot traffic and frequent use can lead to wear and tear. Over time, floors accumulate dirt, scuff marks, and scratches, which not only impact the appearance of the space but can also degrade the flooring material. This is where professional polishing machines come into play. They are designed to restore and enhance the look of various floor surfaces, from tile to stone and wood, ensuring they maintain their integrity and shine for longer.
Kärcher's range of professional polishing machines offers a high-performance solution for businesses looking to keep their floors in pristine condition. These machines go beyond regular cleaning by buffing away imperfections, leaving behind a smooth, polished surface. Whether you're maintaining a showroom, office, or industrial facility, a well-polished floor can elevate the overall atmosphere and give a positive impression to visitors and clients. Moreover, polished floors are easier to clean and maintain, reducing the need for frequent deep cleaning sessions.
Kärcher polishing machines benefits
When it comes to maintaining commercial or industrial spaces, time is a critical factor. Manual floor polishing is not only labor-intensive but also less effective at delivering the high-quality finish required for large areas. Kärcher's professional polishing machines are engineered to provide significant time savings and superior results compared to traditional manual cleaning methods. These machines streamline the polishing process, ensuring that floors are not only cleaned but also restored to a pristine condition in a fraction of the time it would take using manual tools.
By using Kärcher polishing machines, businesses can reduce the amount of time and manpower needed to maintain large floor areas. The powerful motors and advanced technology ensure that dirt, scuffs, and scratches are removed efficiently, leaving behind a glossy, smooth surface. Additionally, these machines provide consistent results, eliminating the uneven finish that often comes with manual polishing.
Moreover, Kärcher machines are designed with ease of use in mind, allowing operators to cover more ground with less effort. This not only enhances productivity but also reduces strain on cleaning staff, improving overall operational efficiency.
How to use Kärcher polishing machine
Operating a Kärcher polishing machine is straightforward, but following a step-by-step guide ensures optimal results, especially when dealing with different floor surfaces like tile, wood, or stone. Each surface requires specific techniques to achieve the best finish, and Kärcher's machines are versatile enough to handle them all.
Here’s how to get the most out of your polishing machine:
Step 1: Prepare the Area
Before polishing, ensure the floor is clean and free of any loose dirt, debris, or objects. Sweep or vacuum the surface to remove dust and small particles that could scratch the floor during the polishing process.
Tip: For especially dirty floors, use a Kärcher scrubber drier beforehand to achieve a cleaner base for polishing.
Step 2: Select the Right Pad or Brush
Depending on the type of surface you are polishing, select the appropriate pad or brush. Kärcher offers different types of polishing pads—soft pads for delicate surfaces like wood and more abrasive pads for harder surfaces like tile or stone.
Tip: Always check the manufacturer’s guidelines for pad compatibility with specific floor types.
Step 3: Adjust the Machine Settings
Kärcher polishing machines come with pressure settings. For softer surfaces like wood, use a lower speed and lighter pressure to avoid damaging the surface. For harder surfaces like stone or tile, higher speed and pressure can be used to effectively remove scratches and scuffs.
Tip: Start with a lower setting and gradually increase as needed to find the right balance for each surface.
Step 4: Begin Polishing in a Systematic Manner
Start polishing from one corner of the room and move in straight, overlapping lines to ensure full coverage. Move the machine steadily without rushing, allowing it to work efficiently without missing spots.
Tip: For larger areas, divide the space into sections and polish one section at a time to ensure consistent results across the entire floor.
Step 5: Buff and Polish the Surface
Once the initial polish is done, switch to a finer pad if required, and buff the surface for a high-gloss finish. This final pass will enhance the shine and smoothness of the floor.
Tip: For extra shine on glossy surfaces, a microfiber polishing pad can be used to give the floor a mirror-like finish.
Step 6: Clean and Store the Machine
After use, clean the machine thoroughly, especially the pads and brushes, to remove any residue. Proper maintenance will prolong the life of the machine and ensure it’s ready for future use.
Tip: Store the machine in a dry, clean area to prevent moisture or dust from affecting its performance.

