Complete Post Renovation Cleaning Checklist & Tips for Homeowners
Post renovation cleaning can be tedious and troublesome even after a thorough cleanup by your contractor. This is especially a huge concern for homeowners who are allergic to dust. However, this task can be managed with proper cleaning equipment and procedure. Therefore, using the right tools from Karcher can turn your cleaning after renovation into an enjoyable experience instead.
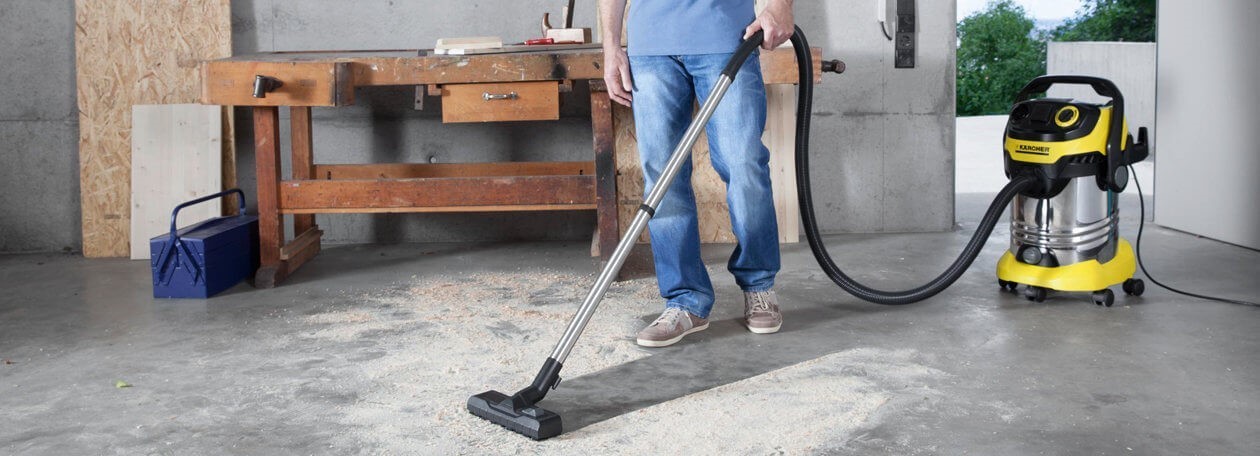
Tips to Effectively Remove Dust and Debris After Renovation
Cleaning after renovation can be tiring. Thus, when carrying out post renovation cleaning, it is always good to follow a plan/flow. This will allow you to have a guide and also cover all areas as well as prioritise what or which areas need to be cleaned first.
One way is to clean from top to bottom, inside to outside, big to small and others. You can always start with the obvious.
Post Renovation Cleaning Checklist
Typical Cleanup
- Clean interior and exterior walls
- Dust fans and ceiling
- Wipe all windows, window frames, doors and trims
Vacuum carpet - Vacuum and mop floors (buff where possible)
- Wipe all light fixtures and bulbs
- Remove and dispose of all trash
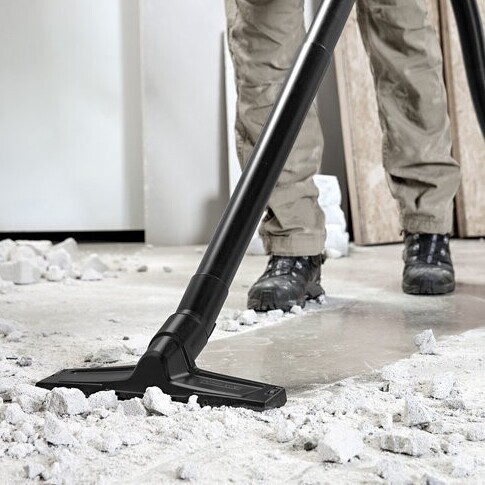
Entrance and Exits
- Clean the driveway and walkways
- Wipe exterior lights and clear any debris
- Clean the gate, fence and its surroundings
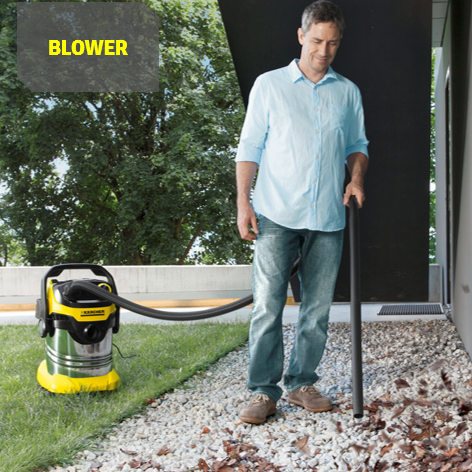
Kitchen and Bathroom
- Vacuum, dust, and clean shelves
- Clean cabinet doors and tops of cabinets
- Scour and cleanse countertops and any backsplashes
- Clear unwanted debris around sinks and faucets
- Clean all appliances inside and out
- Clean toilets and mirrors
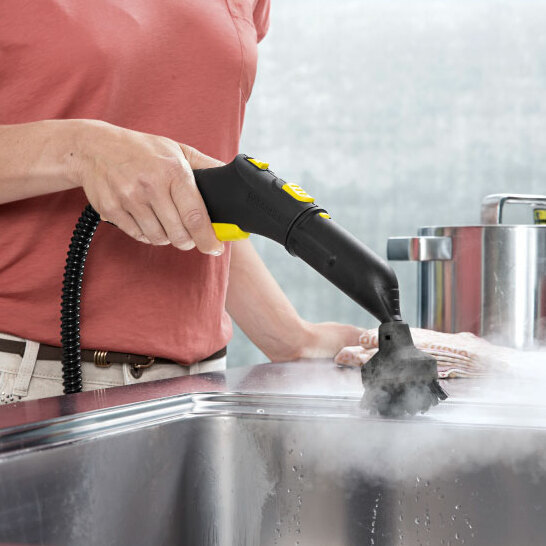
Essential Tools for Post-Renovation Cleaning
Vacuuming and dusting comes first before other types of cleaning because of the amount of dust and debris that is lying around. Start at the top and work your way down. Clean the ceilings and then work your way down to the walls and finally the floor and carpets.
Remember to vacuum and dust the upholstery, curtains, furniture, frames, beneath the frames and other hidden areas including closets, cabinets and shelves. Doors, windows and sills included.
Ducts, grates, vents, blinds, ceiling fans, lighting fixtures and even decorations should be dusted.
Best Choice: Wet and Dry Vacuum Cleaner
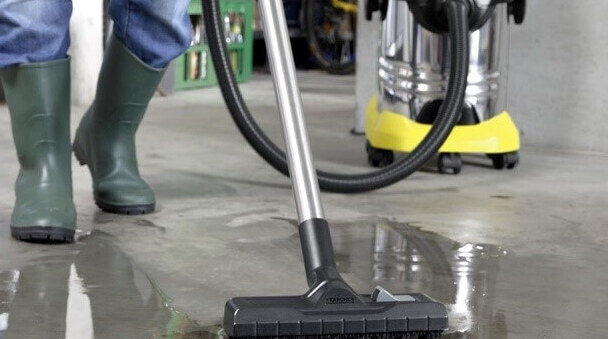
A good and versatile vacuum cleaner can ease a lot of trouble getting rid of dust and debris. The Karcher Multipurpose Wet & Dry Vacuum Cleaner is the best machine to get the job well done. It can vacuum both wet and dry dirt and has enough suction power to pick up large dirt particles, including large volumes of water. Not to mention, it is capable of blowing dirt from hard and reach areas.
Ideally, one should get the WD 5 Premium Model with corrosion-resistant stainless steel container. At 25 litres, its capacity is enormous and once the filter is full, it can be easily cleaned at the push of a button so that suction power is quickly restored.
As Karcher’s multipurpose vacuum cleaner comes in a wide range of models and prices, you can easily find one that is well within your spending budget.
Allergies and Complications
For those allergic to dust or have certain respiratory complications, it is advisable to use the proper tool for this i.e. you may consider using the Karcher - Water Filter Vacuum Cleaner as the dust will be bound with the water. It is also good for families with babies and young toddlers
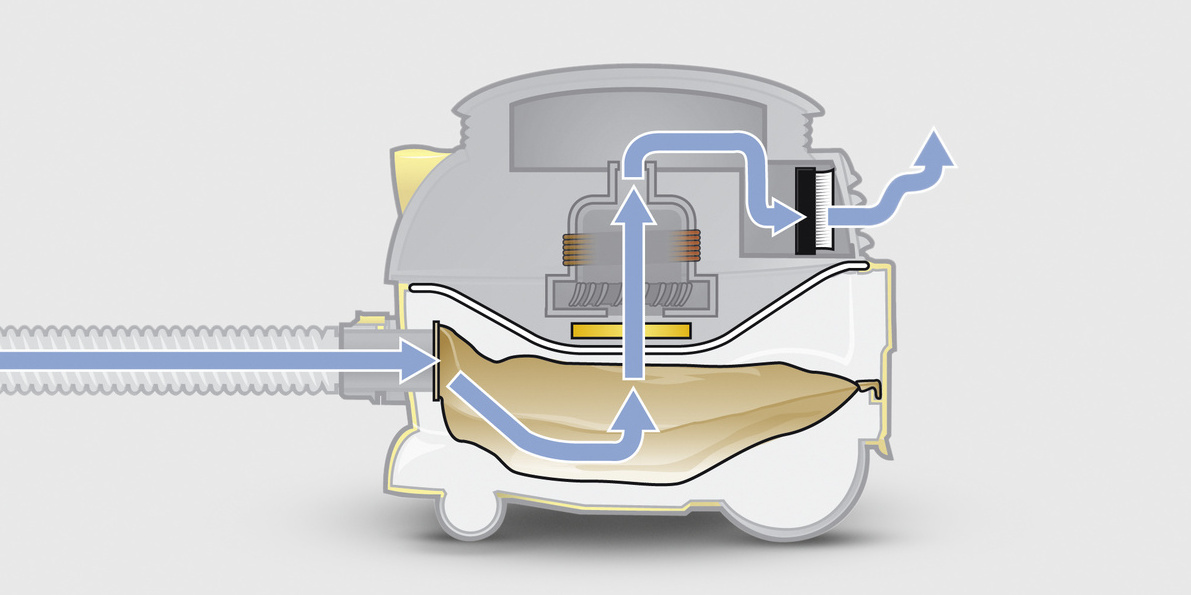
Those with dust allergies need not worry as it comes with 3 filters: Water Filter [1], Washable intermedia filter [2] and HEPA 12 filter [3]. As a result, it is capable of filtering out 99.5% of dust particles (over 0.3 µm in size) in the air and there is no longer a cloud of dust when emptying the vacuum cleaner as the dust is bound with water.
Post renovation cleaning tips
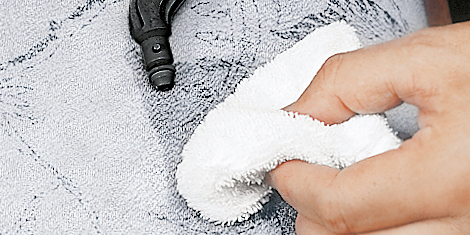
You can couple all the above products with the Turbo Nozzle (optional) to increase cleaning efficiency as the rotating brush stirs up dirt seated deep in the fibres before it vacuums.
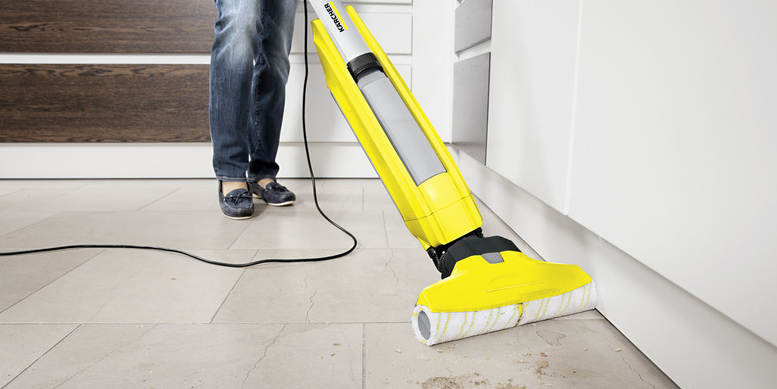
Once you have completed the ‘dry’ cleaning, now comes the ‘wet’ part. Again, you start from the top and work your way down.
Wipe the ceiling fans, ceiling fan blades, light fixtures, walls. When wiping walls especially, do check whether the wall or paint is dry before wiping with a wet cloth.
Then, work your way down to the shelves, windows, doors, door knobs, decorations and furniture. Even the kitchen needs to be properly scrubbed.
Remember to clean the air-conditioning units too as these items collect a lot of dust. You will need to mop the floor once all the wiping is done.
Replace any worn out filters or non-functional items that cannot be reused. This is important as some of these items may have exceeded their life span or are unable to function at an optimum level.
Reinstall whatever items that have been dismantled or taken apart. Do take precaution that when installing, it is important that during the installation process, it does not make the surrounding dirty or dusty again.
Pressure Washer to Power Wash Driveway, Porch and The Exterior
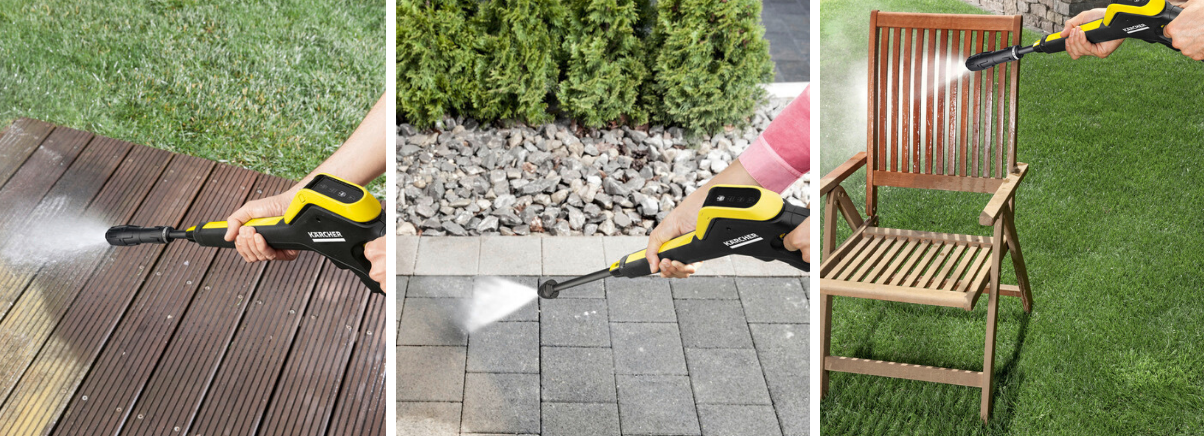
Once you have completed cleaning the interior of the house, now comes the easier part - the exterior.
Clear all debris, both big and small, from the compound before the cleaning begins. Collect these debris properly and store them in proper bags for disposal.
Once done, clean the exterior walls with a good and powerful pressure cleaner such as the Karcher Pressure Washer for a thorough and cleaner effect.
When the walls are cleaned, proceed with cleaning the porch and driveway. Then proceed to clean the fence and gate.
Karcher’s patented nozzle technology gives you an outstanding cleaning performance. Besides consuming less water compared to a garden hose, it also gets more cleaned within a shorter time frame. With an adjustable pressure setting, you can use our pressure washer to clean both sensitive areas such as a dusty wall and also efficiently remove stubborn dirt.
How to Remove Stains and Debris After Renovation
Removing Paint Splatter and Residue
Paint splatters are one of the most common issues after renovation. For fresh paint, gently scrape off excess with a plastic scraper, being careful not to scratch surfaces. For dried paint on hard surfaces like tile or wood, use a soft cloth dampened with warm water and a mild detergent. For tougher spots, a specialized paint remover may be necessary.
Pro Tip: Use a Kärcher floor scrubber with a soft brush attachment for large areas to safely remove paint residue without damaging surfaces.
Cleaning Grout Stains
Grout lines can absorb dirt, dust, and other debris, making them appear dull or stained. Start by scrubbing the grout with a mixture of baking soda and water. For deeper stains, apply a grout cleaner and scrub with a stiff-bristle brush.
Pro Tip: Kärcher’s steam cleaner is highly effective for cleaning grout lines, as it uses high-temperature steam to break down grime without the need for harsh chemicals.
Tackling Adhesive and Glue Residue
After removing tiles or other materials, adhesive residue can be left behind on surfaces. To remove this, apply a solvent designed to break down adhesives, such as rubbing alcohol or a commercial adhesive remover. Allow it to sit for a few minutes before gently scraping off the softened glue.
Pro Tip: Use a Kärcher vacuum with dust filtration to quickly clean up any residue and prevent dust from spreading to other areas.

Handling Construction Debris
Larger pieces of debris like wood chips, drywall dust, or concrete fragments need to be carefully collected and disposed of. Use a heavy-duty vacuum, like a Kärcher wet and dry vacuum, that is equipped to handle both fine dust and larger debris. This will ensure that all areas, including floors and corners, are free of hazardous particles.
Pro Tip: Regular vacuuming with a machine designed for fine particle filtration will help prevent dust from circulating in the air after renovation.
Removing Stubborn Stains from Wood and Tiles:
For wood floors, be cautious with the products you use to avoid stripping the finish. For minor stains, a vinegar and water solution can be effective. For more difficult stains, use a wood-safe cleaner or polish.
Tile surfaces often get stained with dust and debris after construction. A mild detergent solution works well for ceramic tiles, but for more stubborn stains, a commercial tile cleaner may be needed.
Pro Tip: Kärcher’s pressure washer with adjustable settings can be used to safely clean outdoor surfaces like tiles and patios without damaging the material.
Final Touches – Dusting and Polishing:

Why Post-Renovation Cleaning is Essential
Renovating your home is an exciting process that brings new life to your living space, but it often leaves behind a significant amount of dust, debris, and even hazardous materials. Whether it's a small room makeover or a major construction project, post-renovation cleaning is an essential step that shouldn't be overlooked. Without thorough cleaning, fine dust particles from materials like drywall, wood, and paint can settle in hidden areas, affecting air quality and posing health risks, particularly for those with allergies or respiratory issues.
Post-renovation cleaning ensures not only a cleaner and healthier environment but also helps to preserve your newly renovated surfaces. Dust and debris left unchecked can scratch, dull, or damage floors, countertops, and other surfaces, reducing the longevity of your renovation investment. Additionally, many building materials leave behind harmful substances such as adhesives, sealants, or toxic chemicals, which need to be carefully removed to make your space safe for living.
A proper post-renovation cleaning routine also provides the opportunity to showcase the beauty of your new space. Once the dust settles and is cleaned away, the true look of your renovations can shine. This process involves more than just sweeping and mopping; it requires deep cleaning of all surfaces, including walls, floors, windows, and even air vents, which can collect dust and spread it throughout the home.
For this task, using the right tools and techniques is key to ensuring a spotless result. Specialized cleaning equipment, such as Kärcher’s range of vacuum cleaners, pressure washers, and floor scrubbers, can make the job easier and more efficient, tackling both fine dust particles and heavy debris. By following expert post-renovation cleaning tips and using high-quality tools, homeowners can enjoy a pristine, fresh environment after any renovation project.
Conclusion Post-Construction Cleaning Mistakes to Avoid
Cleaning after renovation can be rather messy when done without proper planning or tools. The guide above is to serve and assist you in making the best decision and especially in choosing the right tools for the job. As a matter of fact, you can’t go wrong with Karcher!


